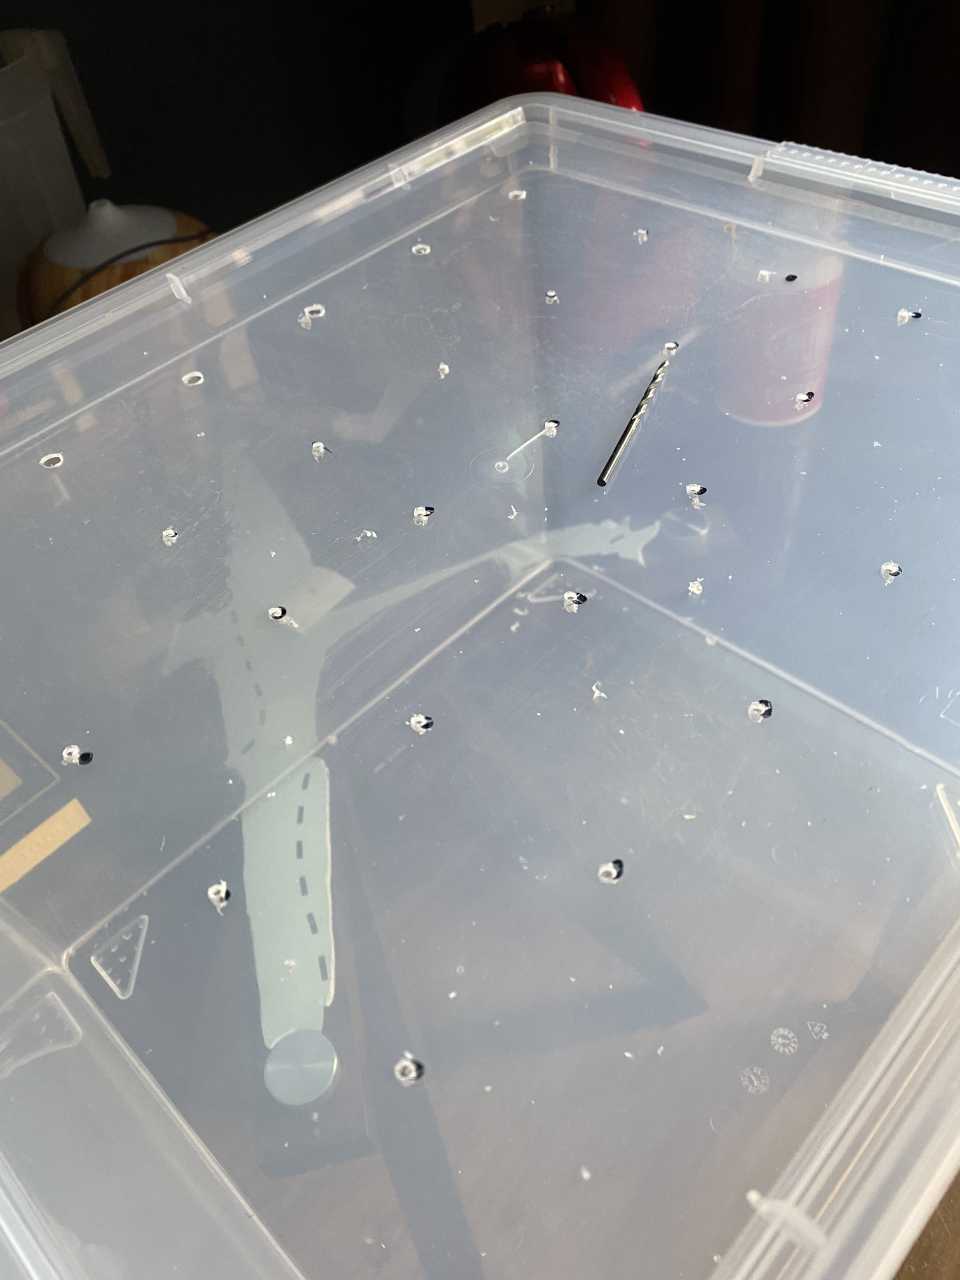
Creating a shotgun fruiting chamber
On the website where I purchased my pink oyster liquid culture and a grey oyster fruiting stick thing, I noticed they have ready-made shotgun fruiting chambers and I considered buying one, but the price put me off. I figured I could make one myself.
My mom had an old plastic tote laying around and so I set off marking out a rudimentary grid with a marker on it. As soon as I started drilling, the plastic cracked badly. Not sure if I pressed too hard or was misled into using the wrong type of drill bit, but I stopped and used this somewhat broken box for storage of mushroom growing tools and supplies instead.
Maybe a softer, more flexible, thinner type of plastic box would work better, I thought, and I was correct in my thinking. I purchased a cheaper box, and also used a different drill bit and only cracked a few holes. The cracks aren't too big and managed to cover them with some insulation tape. Problem solved.

What I've learned from this exercise was that drilling holes in a plastic box really makes your forearm and hand hurt and that you need to be extremely careful with the type of pressure you put on the box while drilling holes. And yes, do use a 1/4 inch wood bit.
The holes do not need to be in a perfect grid, I'm almost certain the mushroom inside doesn't give a shit about accuracy, all it cares about is adequate humidity and some light, depending on what type of mushroom it is.
Next time I am getting a bigger plastic box to PF TEK these babies in, and in the future I want to experiment with a similar method of cultivating in buckets, but using old plastic colddrink bottles, because why not re-use plastic instead of tossing it into the garbage and contributing to the global plastic problem?