My pink oyster buckets worked
This is the first time I did it this way. I filled the blue drum with 200 litres of water, then added 300g hydrated lime to it, being careful and wearing a mask, goggles and gloves to protect my eyes, respiratory system and skin from the hazardous effects of the lime.
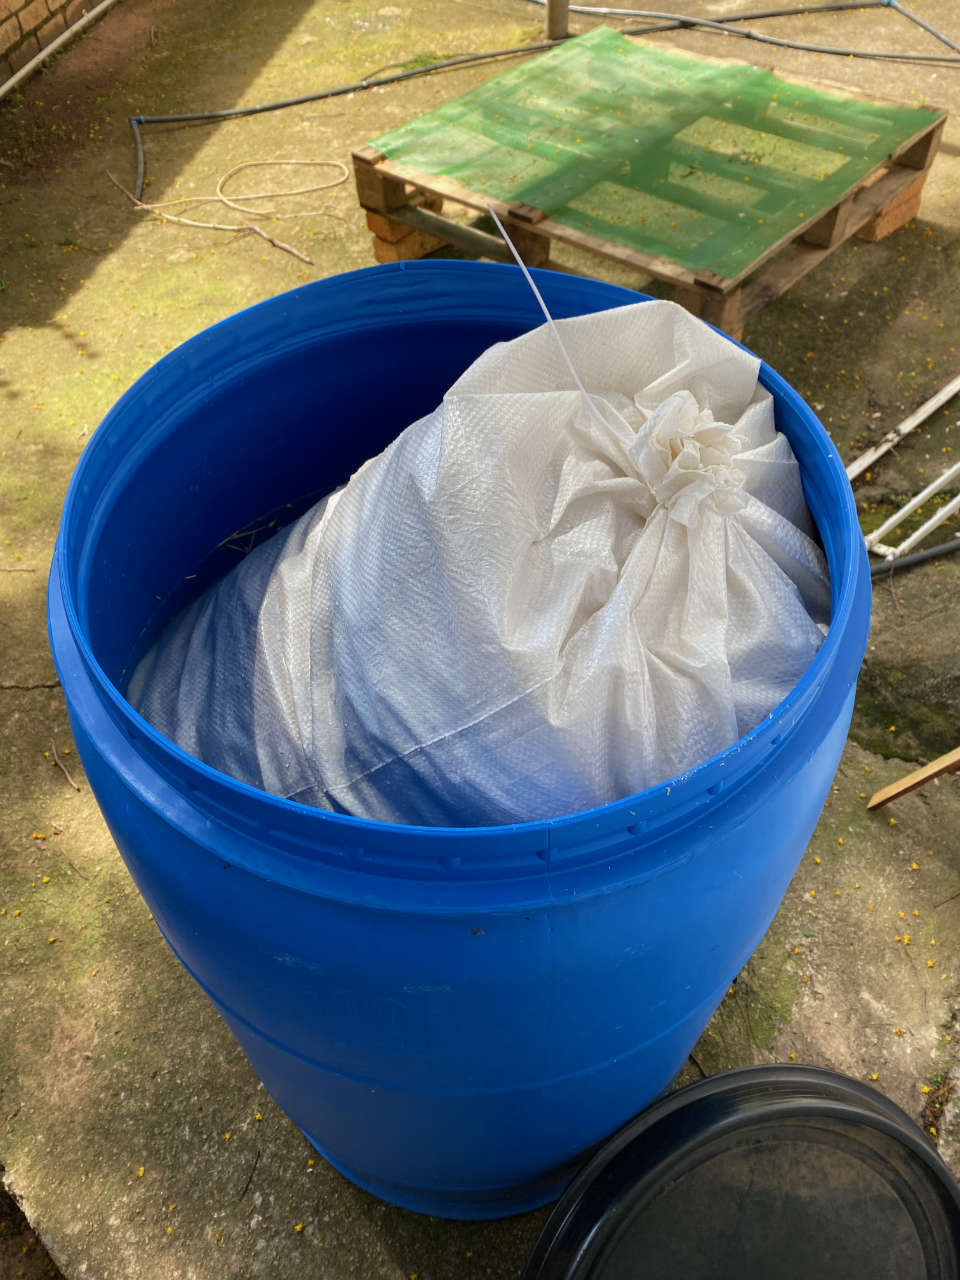
Soaking the straw this way didn't work extremely well. The bag was too heavy for me to lift the next day (I didn't take into account the added weight of the water absorbed in the straw) and I had to haul bucket after bucket out after neutralising the pH level of the water with pool acid because there wasn't a drain anywhere nearby. I think I have to install some kind of valve in the bottom of the bucket to make draining easier.
Also, next time, I must not load the bags so full of straw. I'm not a man (and I ain't getting one to help me for the foreseeable future), and therefore do not have the strength to handle such a large bag. I injured my back muscles while trying to drag the bag out. What I think I should do, is load them half full of straw and use at least two bags in one soak. That way I can handle them easier.
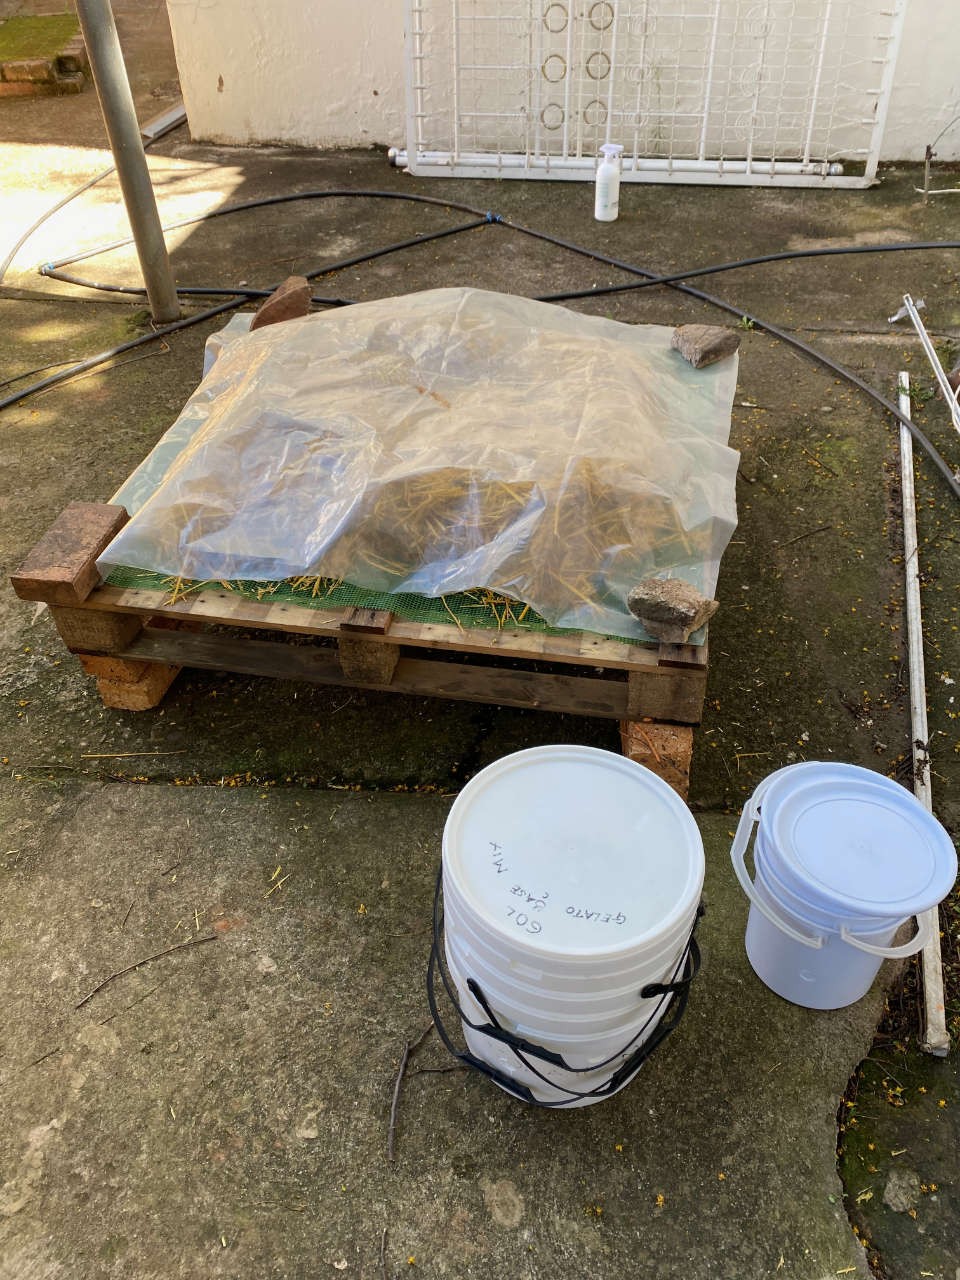
After about 14 hours of soaking the straw in the lime, I struggled the bag out of the drum and let the excess water drip off. Too much moisture and your mycelium will not colonise and the contamination risk increases.
I didn't do this in the correct space either - too far from a proper drain (I can't drain it in the garden, it will damage the soil and plants) and too close to a tree that sheds yellow flowery things.
This is how you lean: by making mistakes and trying different approaches. This is NOT an efficient way of doing things at all.
After stuffing the buckets, of course using gloves and isopropyl alcohol surface sanitiser inside the (already cleaned) buckets, I closed the holes with micropore tape and moved them into an outside room, where we keep the washing machine. It's relatively sheltered, clean and gets natural light.
About a week goes by and I notice small pins pushing the micropore tape away from the bucket! I felt like a child and couldn't contain my excitement.
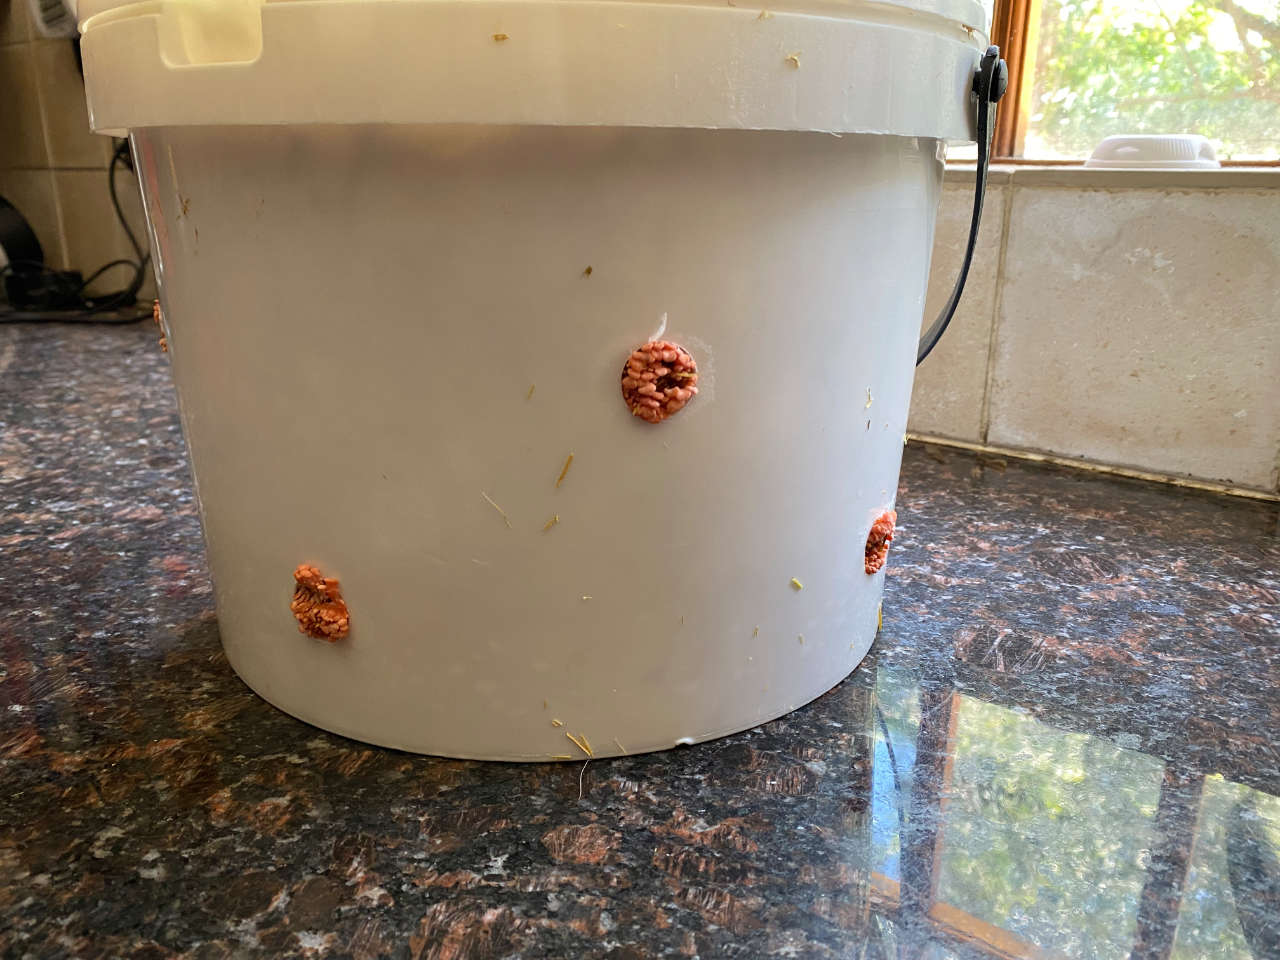
My bucket work isn't the neatest yet. These buckets has shown some signs of wear and tear as well, but they're perfect for home cultivation and I can use them again for the next batch.
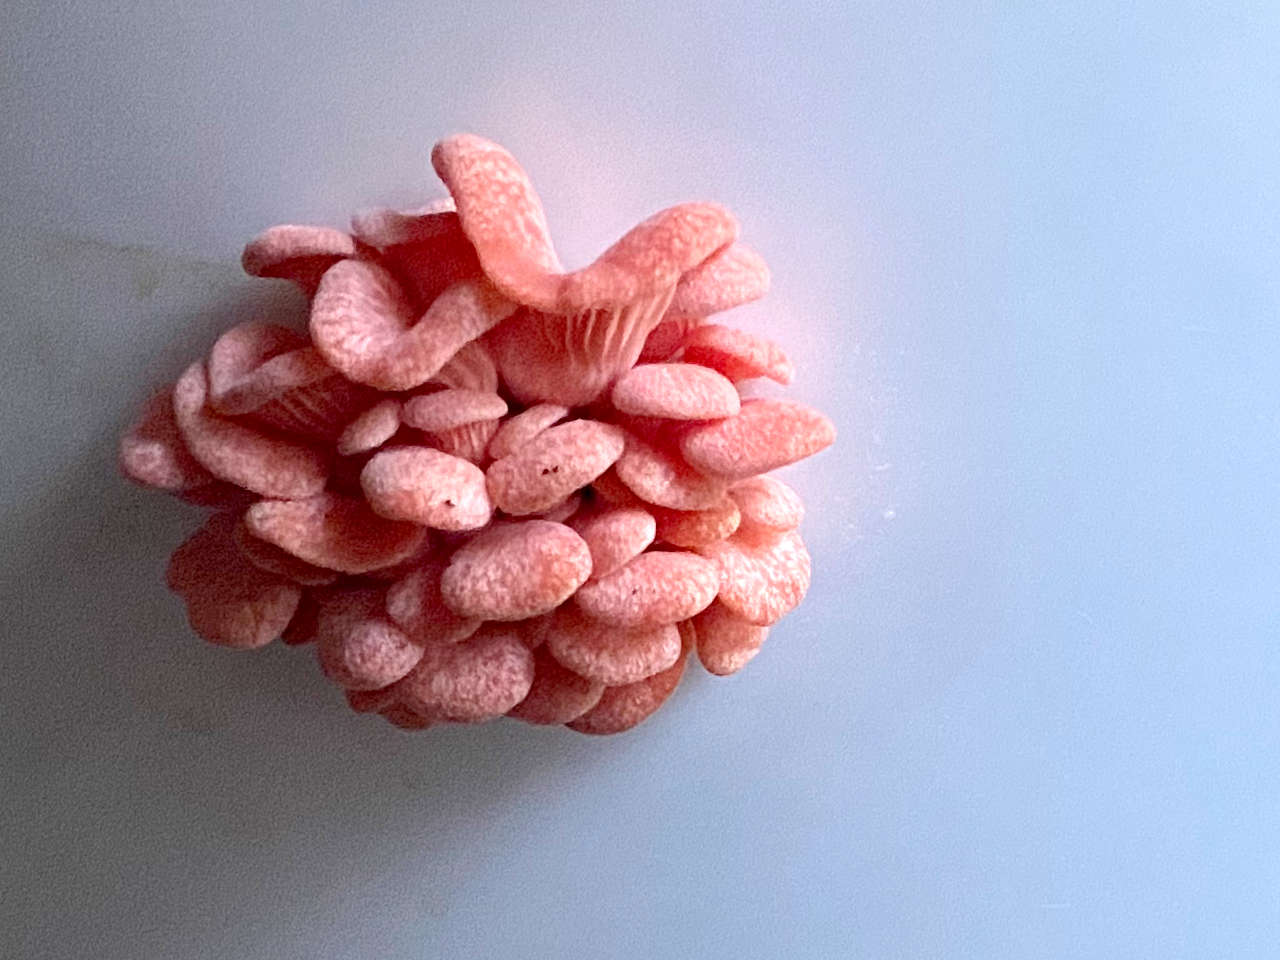
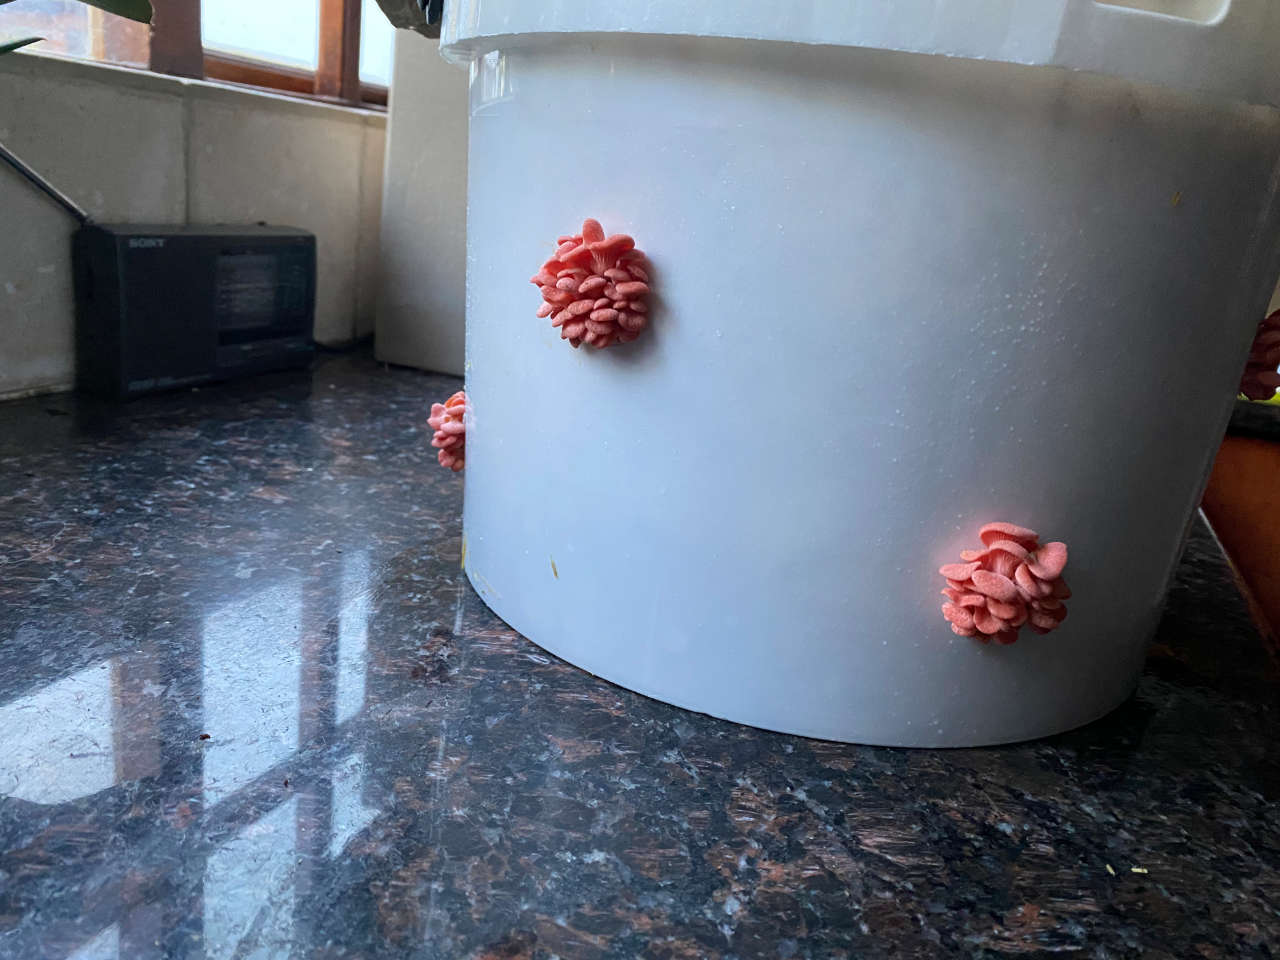
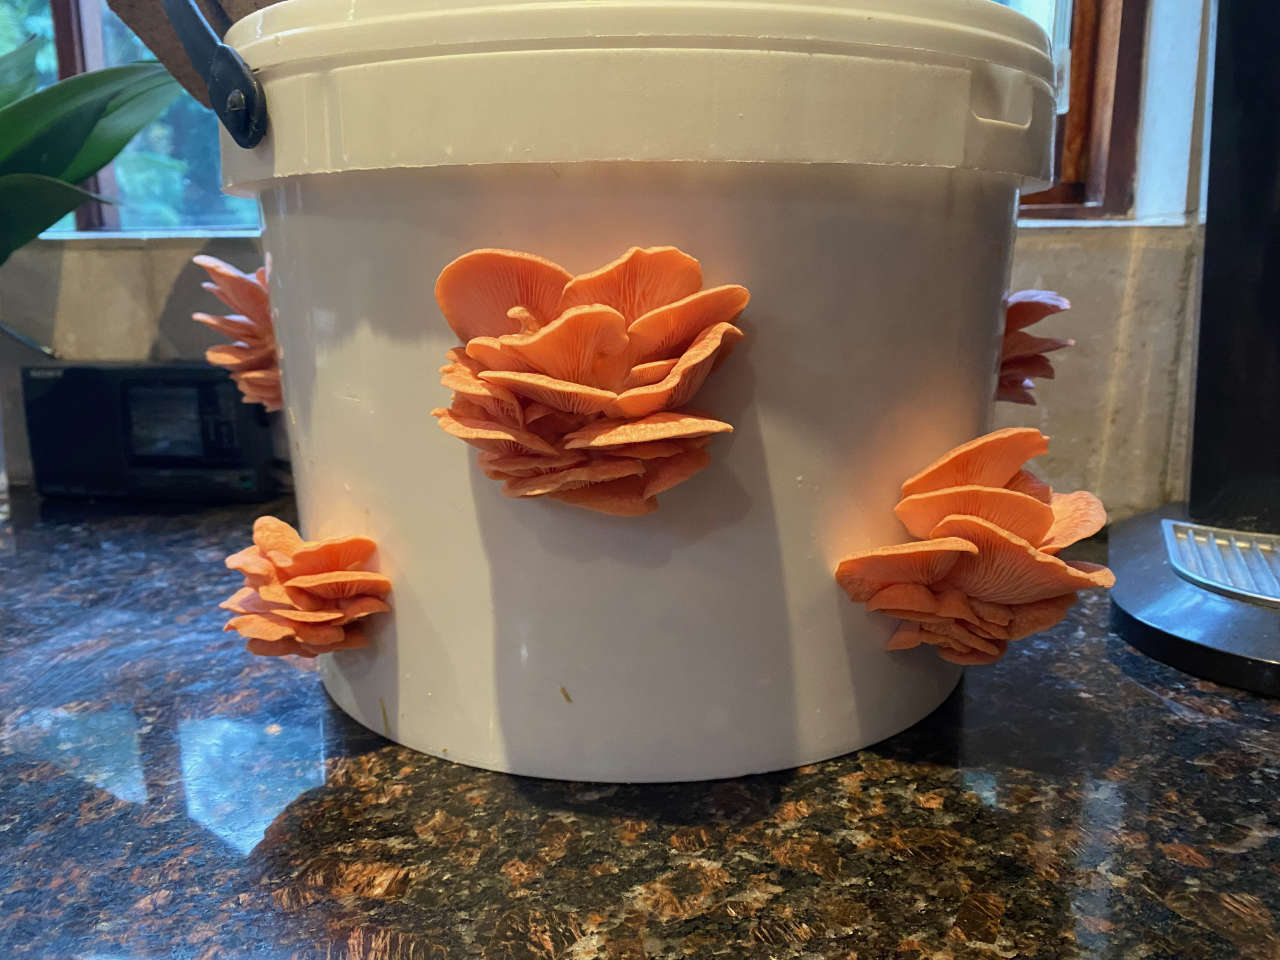
They grow so fast! After about 3, 4 days, I had mushrooms to eat. They weren't massive, however their caps were starting to curl upwards and throwing a lot of spores. That's a sign that they're ready to be harvested.
I cut them off at the holes with a clean, sharp knife. Each and every hole in the bucket had sprouted mushroom fruits.
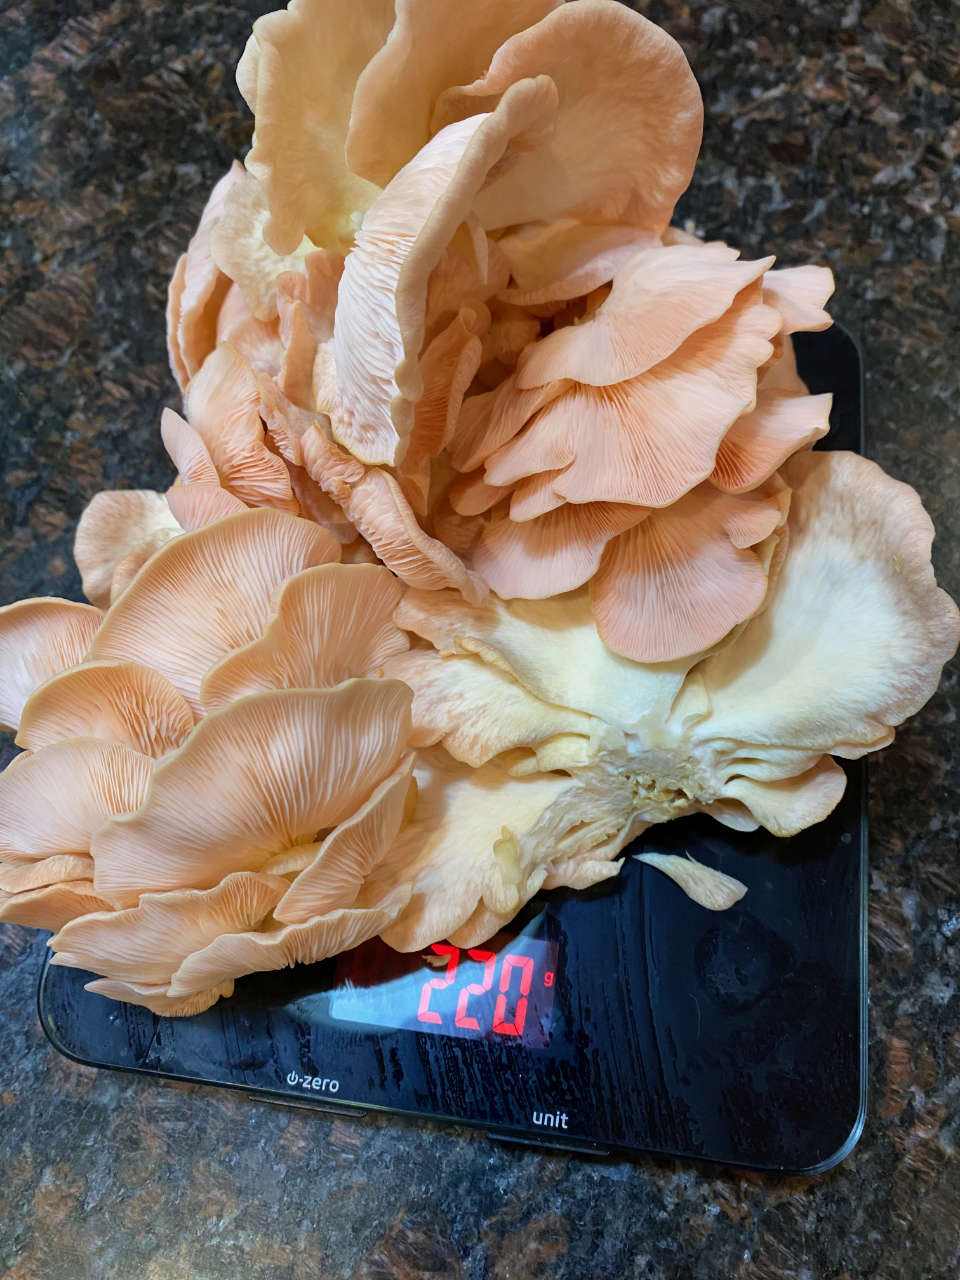
The weight of the harvest was 220g and I ended up cooking them in butter with some himalayan salt, black pepper and smoked paprika with some fried onions. Absolutely delicious. I just don't get why some people say they taste like bacon...
My other smaller buckets also yielded grey oysters a few days after this, but not as much as the big bucket, naturally.

My family and I have now eaten all the mushrooms, taped the holes up again to reduce contamination risk and I put them back in the washing room where the mycelium can take its time to regenerate and hopefully give me a second flush of these beauties.